什么是 GetxService
在 GetX 框架中,GetxService 是一种特殊的类,用于 持久化的依赖管理。
它的主要作用是:应用程序整个生命周期中都不会被销毁,除非你手动释放。
换句话说,普通的 Controller(继承 GetxController)在路由被销毁时可能会被释放;
而 GetxService 会一直保留在内存中,非常适合管理一些 全局单例服务。
GetxService 通常用来做一些 全局且长期存在的逻辑,例如:
- ✅ 网络请求服务(
ApiService,全局调用) - ✅ 数据库服务(例如
DBService,管理 SQLite / Hive 等) - ✅ 本地存储 / SharedPreferences 管理
- ✅ 用户会话管理(登录态、Token)
- ✅ 应用配置(主题模式、语言等)
GetxController VS. GetxService
没有 GetxService 的写法
import 'package:flutter/material.dart';
import 'package:get/get.dart';

// 普通的 GetxController
class CounterController extends GetxController {
  var count = 0.obs;

  @override
  void onInit() {
    super.onInit();
    print('CounterController 初始化');
  }

  void increment() {
    count++;
    print('计数增加到: ${count.value}');
  }

  @override
  void onClose() {
    print('CounterController 销毁');
    super.onClose();
  }
}

// 主页面(用于导航到 CounterPage)
class HomePage extends StatelessWidget {
  const HomePage({super.key});

  @override
  Widget build(BuildContext context) {
    return Scaffold(
      appBar: AppBar(title: Text('首页')),
      body: Center(
        child: ElevatedButton(
          onPressed: () {
            // 导航到 CounterPage
            Get.to(() => CounterPage());
          },
          child: Text('前往计数页面'),
        ),
      ),
    );
  }
}

// 计数页面
class CounterPage extends StatelessWidget {
  // 在页面中手动初始化 Controller
  final CounterController controller = Get.put(CounterController());

  CounterPage({super.key});

  @override
  Widget build(BuildContext context) {
    return Scaffold(
      appBar: AppBar(title: Text('不使用 GetXService')),
      body: Center(
        child: Obx(
          () => Text(
            '计数: ${controller.count.value}',
            style: TextStyle(fontSize: 24),
          ),
        ),
      ),
      floatingActionButton: FloatingActionButton(
        onPressed: controller.increment,
        child: Icon(Icons.add),
      ),
    );
  }
}

void main() {
  runApp(GetMaterialApp(home: HomePage()));
}
以下是日志:
Restarted application in 2,039ms.
[GETX] Instance "GetMaterialController" has been created
[GETX] Instance "GetMaterialController" has been initialized
[GETX] GOING TO ROUTE /CounterPage
[GETX] Instance "CounterController" has been created
I/flutter (14398): CounterController 初始化
[GETX] Instance "CounterController" has been initialized
W/WindowOnBackDispatcher(14398): OnBackInvokedCallback is not enabled for the application.
W/WindowOnBackDispatcher(14398): Set 'android:enableOnBackInvokedCallback="true"' in the application manifest.
I/flutter (14398): 计数增加到: 1
I/flutter (14398): 计数增加到: 2
I/flutter (14398): 计数增加到: 3
I/flutter (14398): 计数增加到: 4
I/flutter (14398): 计数增加到: 5
I/flutter (14398): 计数增加到: 6
[GETX] CLOSE TO ROUTE /CounterPage
I/flutter (14398): CounterController 销毁
[GETX] "CounterController" onDelete() called
[GETX] "CounterController" deleted from memory
[GETX] GOING TO ROUTE /CounterPage
[GETX] Instance "CounterController" has been created
I/flutter (14398): CounterController 初始化
[GETX] Instance "CounterController" has been initialized
W/WindowOnBackDispatcher(14398): OnBackInvokedCallback is not enabled for the application.
W/WindowOnBackDispatcher(14398): Set 'android:enableOnBackInvokedCallback="true"' in the application manifest.


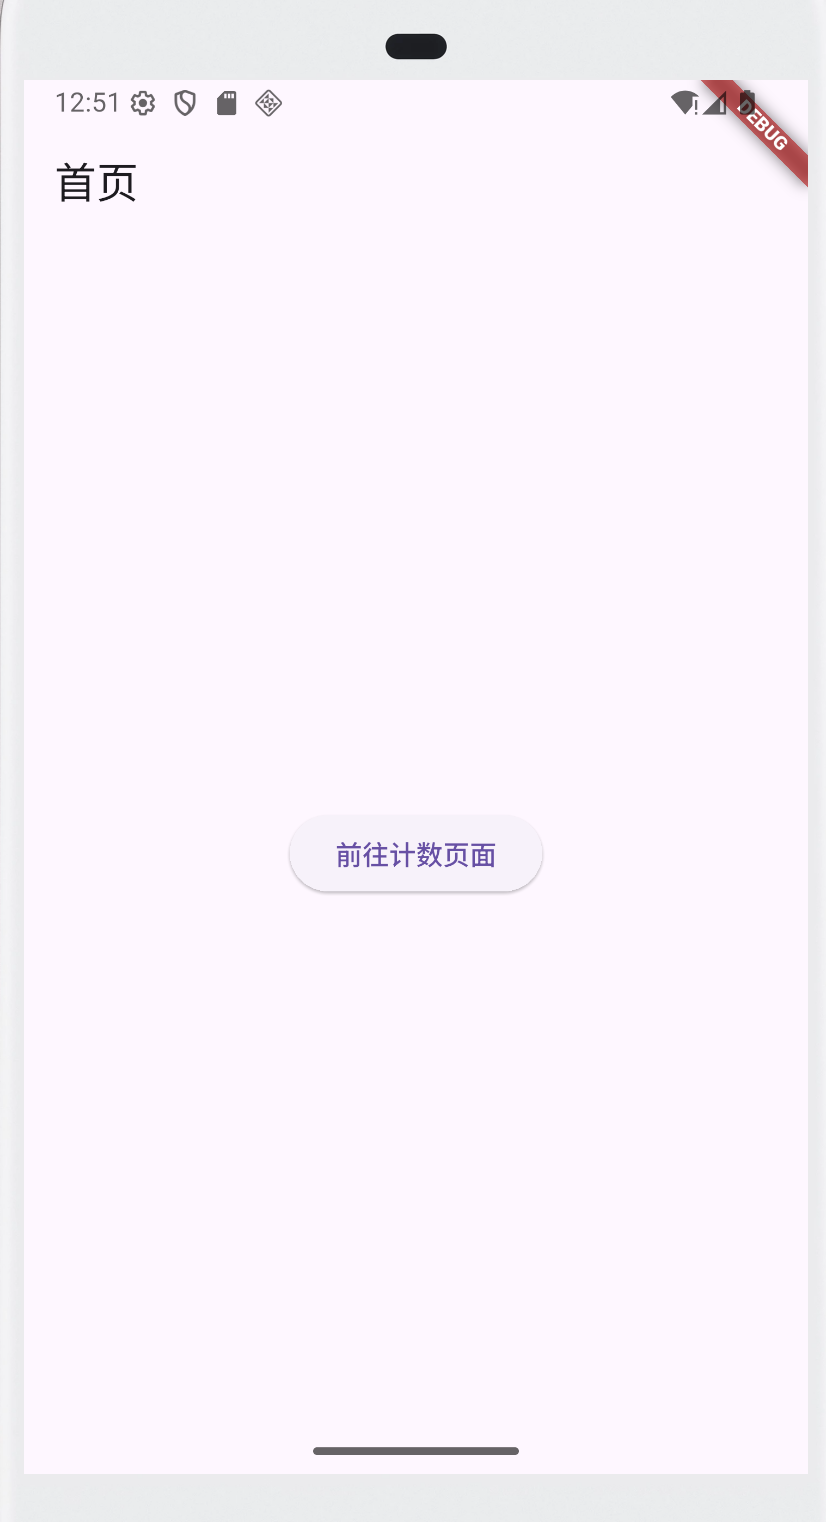
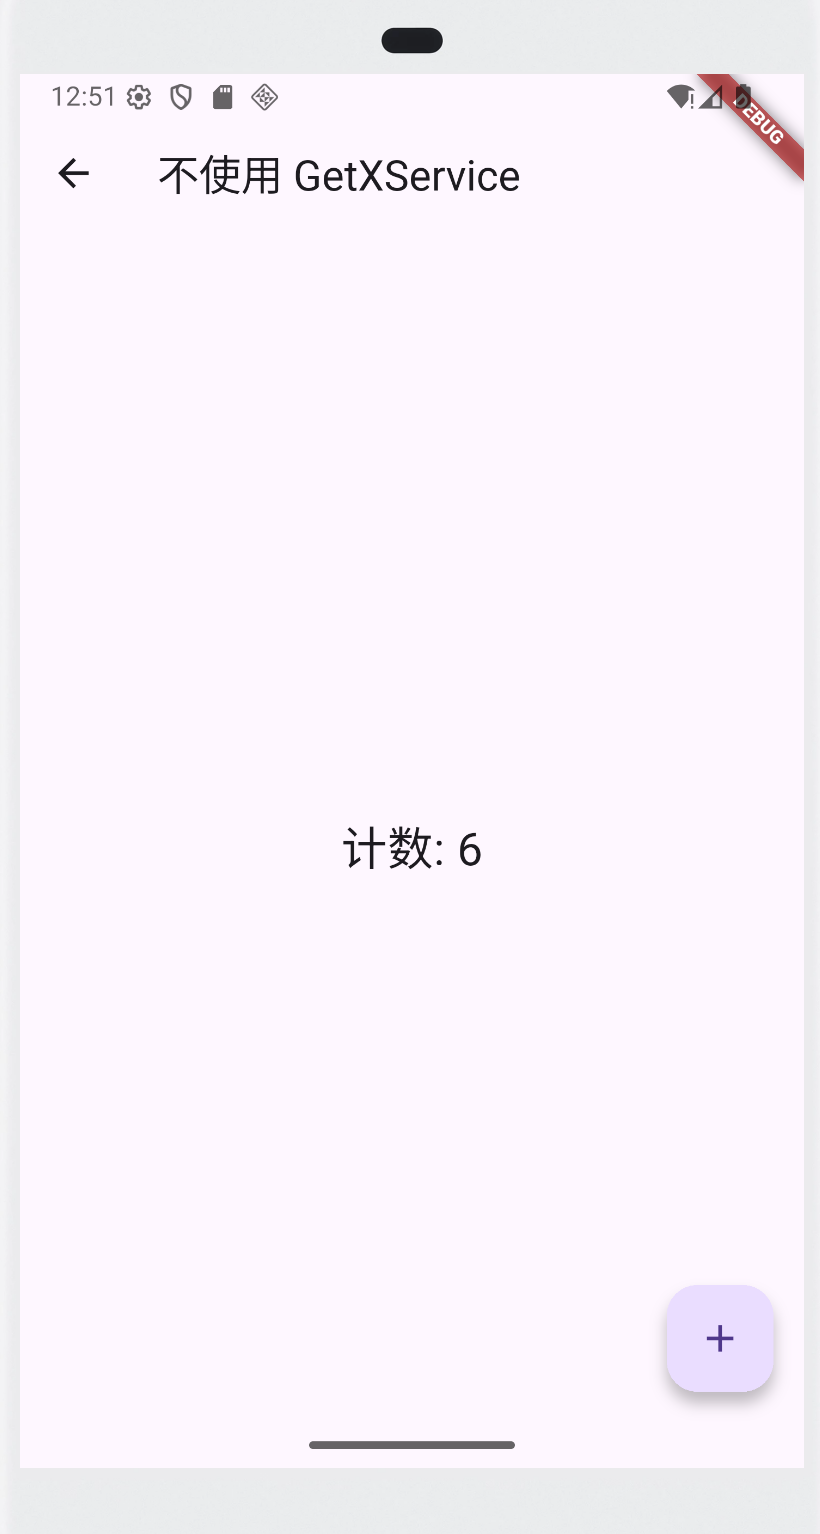
点击前往计数页面。然后点击悬浮按钮。接着在退回首页。之后,在进入计数页面,这个时候就会发现,计数器清零了。
之所以会被清零,是因为在退出页面之后,CounterPage页面被移出了路由栈,页面被销毁,随之被一起销毁的还有CounterController。那么CounterController里面的变量也一起销毁了。所有计数器清零了。
注意,
CounterController不能放在首页(路由栈最底层),否则永远不会被清除。
使用 GetXService 避免销毁
import 'package:get/get.dart';
import 'package:flutter/material.dart';

// 使用 GetXService
class CounterService extends GetxService {
  var count = 0.obs;

  @override
  void onInit() {
    super.onInit();
    print('CounterService 初始化');
  }

  void increment() {
    count++;
    print('计数增加到: ${count.value}');
  }

  @override
  void onClose() {
    print('CounterService 销毁');
    super.onClose();
  }
}

// 主页面(用于导航到 CounterPage)
class HomePage extends StatelessWidget {
  const HomePage({super.key});

  @override
  Widget build(BuildContext context) {
    return Scaffold(
      appBar: AppBar(title: Text('首页')),
      body: Center(
        child: ElevatedButton(
          onPressed: () {
            // 导航到 CounterPage
            Get.to(() => CounterPageWithService());
          },
          child: Text('前往计数页面'),
        ),
      ),
    );
  }
}

// 计数页面
class CounterPageWithService extends StatelessWidget {
  // 获取 CounterService 实例
  final CounterService service = Get.find<CounterService>();

  CounterPageWithService({super.key});

  @override
  Widget build(BuildContext context) {
    return Scaffold(
      appBar: AppBar(title: Text('使用 GetXService')),
      body: Center(
        child: Obx(
          () => Text(
            '计数: ${service.count.value}',
            style: TextStyle(fontSize: 24),
          ),
        ),
      ),
      floatingActionButton: FloatingActionButton(
        onPressed: service.increment,
        child: Icon(Icons.add),
      ),
    );
  }
}

void main() {
  // 在应用启动时初始化 GetXService
  Get.put<CounterService>(CounterService(), permanent: true);

  runApp(GetMaterialApp(home: HomePage()));
}
对比总结
写法上很像,都支持 obs、Get.put、Get.find、Obx。
区别在生命周期:
Controller→ 页面级,可能会被释放。Service→ 全局级,常驻内存
相同点(使用上)
定义方式类似
class MyController extends GetxController {
  var count = 0.obs;
}

class MyService extends GetxService {
  var token = ''.obs;
}
都能用 Get.put / Get.find 管理依赖
final controller = Get.put(MyController());
final service = Get.put(MyService());
都支持响应式状态管理(Obx)
Obx(() => Text("count = ${controller.count}"));
Obx(() => Text("token = ${service.token}"));
不同点
| 特性 | GetxController | GetxService |
|---|---|---|
| 生命周期 | 和路由绑定,页面销毁时可能会被释放 | 常驻内存,不会因为路由切换而销毁 |
| 默认用途 | 管理页面状态、UI 逻辑 | 管理全局单例服务(网络、数据库、缓存、用户会话等) |
| 释放方式 | 自动释放(页面销毁时)或手动 Get.delete() |
不会自动释放,只能手动 Get.delete() |
| 初始化方式 | Get.put / Get.lazyPut / Get.create |
Get.put / Get.putAsync(常用于启动时初始化) |
| 典型场景 | 页面计数器、表单控制、临时数据 | ApiService、AuthService、StorageService、ConfigService |

