案例引入
import 'package:flutter/material.dart';
import 'package:get/get.dart';
class HomeController extends GetxController {
var counter = 0.obs;
void increment() => counter++;
}
class HomeBinding extends Bindings {
@override
void dependencies() {
Get.put(HomeController()); // 注册控制器
}
}
class HomePage extends GetView<HomeController> {
const HomePage({super.key});
@override
Widget build(BuildContext context) {
return Scaffold(
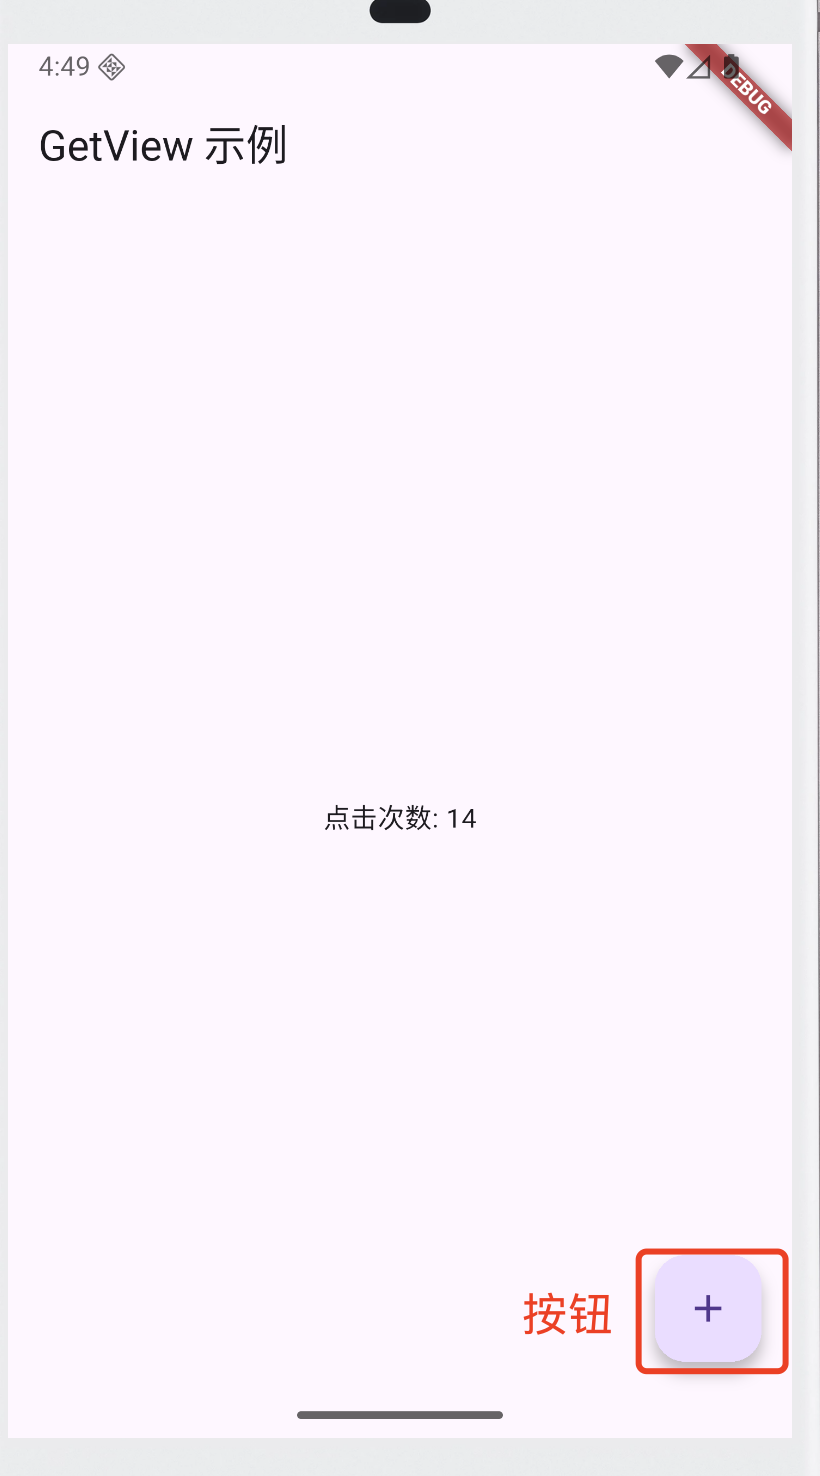
appBar: AppBar(title: Text("GetView 示例")),
body: Center(child: Obx(() => Text("点击次数: ${controller.counter}"))),
floatingActionButton: FloatingActionButton(
onPressed: controller.increment,
child: Icon(Icons.add),
),
);
}
}
void main() {
runApp(
GetMaterialApp(
initialRoute: "/",
getPages: [
GetPage(
name: "/",
page: () => HomePage(),
// final Bindings? binding;
// 绑定的类一定要继承 Bindings
binding: HomeBinding(),
),
],
),
);
}
GetView<T>
GetView 是 一个封装好的 StatelessWidget。
它的主要作用:
- 自动获取控制器实例(用
Get.find<T>())。 - 简化代码,避免在每个 Widget 里手写
Get.find。
// 以下是GetView 的 源码
// 继承了 StatelessWidget
abstract class GetView<T> extends StatelessWidget {
  const GetView({Key? key}) : super(key: key);

  // 这里就是重点 👇
  T get controller => Get.find<T>();
}
使用GetView之后,我们就不需要自己通过Get.find<T>()方法再获取controller了,如下面代码。
class HomePage extends GetView<HomeController> {
  const HomePage({super.key});

  @override
  Widget build(BuildContext context) {
    return Scaffold(
      appBar: AppBar(title: Text("GetView 示例")),
      body: Center(child: Obx(() => Text("点击次数: ${controller.counter}"))),
      floatingActionButton: FloatingActionButton(
        onPressed: controller.increment, // 自动获取controller
        child: Icon(Icons.add),
      ),
    );
  }
}
onPressed: controller.increment等价于:
onPressed: () => controller.increment();
controller.increment:得到的是一个函数对象(Function)或者说函数的引用。
onPressed需要 函数引用,所以直接写controller.increment;如果写
controller.increment(),就变成了 立即执行方法,onPressed 得到的是 void。
在 GetView<T> 里,controller 不是你自己声明的变量,而是 GetView 提供的一个 getter方法帮助我们获取的。
另外GetView可以自动找到Controller的前提条件是必须先注册过。
- 可以是直接
Get.put(HomeController());注册过 - 也可以通过 Bindings 自动注册
Bindings与GetPages的binding
GetPage 中的 binding
GetPage(
  name: "/home",
  page: () => HomePage(),
  binding: HomeBinding(),  // 👈 就是这里
);
意思是:
- 当你跳转到
/home路由时,GetX会先执行HomeBinding().dependencies()方法,把需要的控制器/服务注册好。 - 然后再去构建页面
HomePage()。 - 这样一来,你在页面里就能直接用
Get.find() - 或者通过
GetView<HomeController>来获取实例,这样不用手动写Get.put()。 - 路由的
binding:接收的对象类型就是Bindings,所以绑定的类必须 继承Bindings抽象类 并实现它的唯一方法dependencies()。
Bindings 是什么
Bindings 是 GetX 提供的一个 抽象类,它要求实现一个方法:
abstract class Bindings {
  void dependencies();  // 定义依赖注入逻辑
}
只要继承它,并在 dependencies() 方法里注册依赖即可
class HomeBinding extends Bindings {
  @override
  void dependencies() {
    Get.put(HomeController()); // 注册控制器
  }
}
这样,HomeBinding 的作用就是 告诉路由:进入 HomePage 前,要把 HomeController 准备好。
需要注册多个依赖怎么办
可以写在同一个 dependencies() 里
class HomeBinding extends Bindings {
  @override
  void dependencies() {
    Get.put(HomeController());
    Get.put(UserController());
    Get.lazyPut(() => ApiService());
  }
}
或者用 bindings: [Binding1(), Binding2()] 这种写法:
GetPage(
  name: "/home",
  page: () => HomePage(),
  bindings: [
    HomeBinding(),
    UserBinding(),
  ],
);

